
By Kate
My mother taught me how to make bread.

I don’t know how old I was when I began sifting flour and kneading dough, but I do know I was raised in a home where a battered metal bowl of bread dough was always rising near the wood stove, a kitchen where sifted flour motes hung in shafts of light. Coming off the school bus after the long ride from town, up Irish Hill and over the long ridges, looking out over the fields and fighting sleep I was secure in the knowledge that at the end of the journey I would race into the house and there would be bread fresh from the oven. We called them biscuits and we ate them with butter, with honey, with jam. Over the years I’ve made this bread all over the country, often at Thanksgiving. In the South, in the Blue Ridge Mountains, in the cities of the East Coast, my friends and my in-laws have called them rolls. Regardless of what they are called, every single person who has tasted them has asked for the recipe. Today, I’m sharing the recipe with you.
You will need:
4 cups warm water
3 Tbsp (2 packets) active dry yeast
1/2 c sugar
1/2 cup oil (vegetable oil, olive oil, your choice)
1 Tablespoon salt
Flour, unbleached. A copious quantity.
To begin:
In a large bowl, pour in 4 cups of warm water. It should be very warm, but not hot. Test it on the back of your wrist. Make sure the bowl is in a warm, stable place. Measure in the yeast.
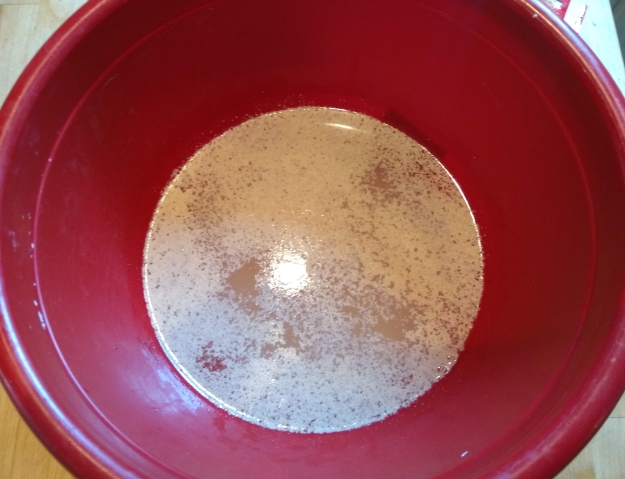
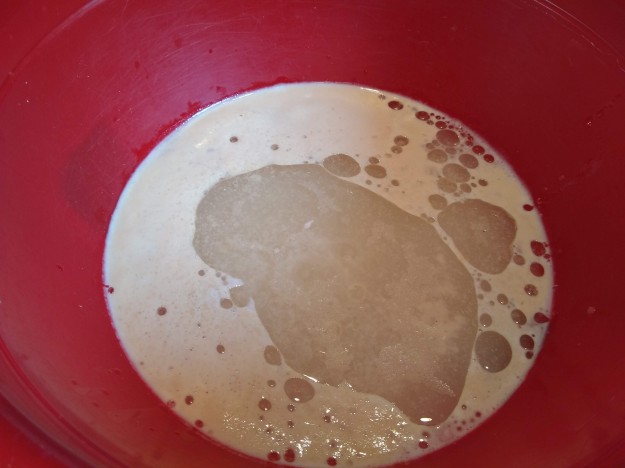
Next, sprinkle a little sugar on top of the yeast. I’ve never seen or heard this instruction from anyone but my mother, but it works like a charm. As she explained to me when I was a small child, clambering up on the counter while she worked, the sugar feeds the yeast. After you’ve sprinkled in the sugar, walk away- or stay right there, because it’s surprisingly interesting to watch. When I was little I loved to hang over the bowl and watch the yeast bloom and form colonies. If you have homeschooling children this is a fantastic time for a science experiment. After 10 or 15 minutes, the yeast should look like this:

The yeast is ready. You can see it. You can smell it! Now, it’s time to add 1/2 cup sugar, 1/2 cup oil, and 1 heaping tablespoon of salt.
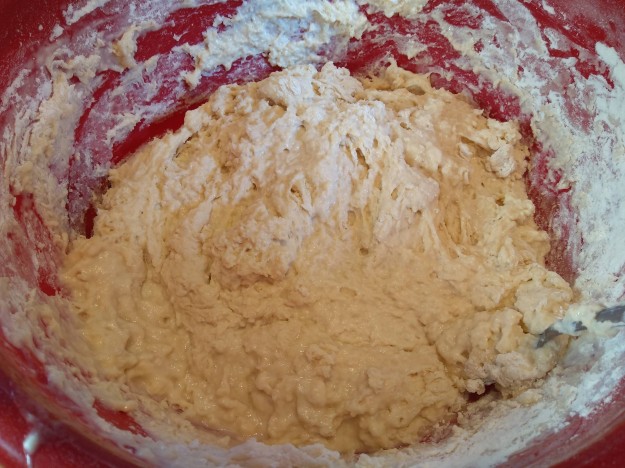
Now, it’s time to add flour. Alternate between adding flour and mixing with a large spoon, until the dough is just solid enough to pour out so you can begin kneading. It will look something like this:
Pour out the dough onto a large, floured surface:

It’s time to knead! What a wonderfully satisfying old word and concept kneading is. If you live in a large family, it’s likely that you’ll want to punch something at some point. Bread dough is a wonderful target. There is something very comforting about pushing into the dough with the bottom of your palm, hand over hand over hand, which is what you are doing here. You are also- and this is important- continuing to add flour as you knead. Sprinkle a little flour over the dough, knead, repeat. Keep sifting flour over the top of the bread as you go. You don’t want it to be sticky when you’re done, but you don’t want it to be tough either. Continue kneading slowly and surely for at least five minutes until the dough is uniform in texture and feels resilient to the touch:

As you can see, the light is shifting. The morning has almost passed and the sun slants in and the shadows are deepening in my kitchen. Making bread demands time. You don’t have to pay attention to the bread all day, but you do have to begin early in the morning and give it ample time to rise and fall throughout the day. This is counter to our culture in so many ways and I would argue that a life that is lived in the rhythm of the rising and the baking of bread is a life of revolutionary freedom.
Dust your bread dough with flour and slide the dough back into the bowl.

Cover with a clean bright cloth, and walk away. Let the dough rise, which will take a couple hours, depending on the season and the humidity and whether the oven is on and all sorts of other factors which you will discover which are particular to your own home and life. You want it to double in size, and when it does it will look like this:

Again, pour the dough out onto a lightly floured surface and punch it down. You don’t have to knead it too thoroughly here, just punch out all of the air bubbles and give it a quick going over, continuing to dust very lightly with flour as you do so. Return the kneaded dough back to the bread bowl.

Preheat the oven to 350 degrees, because it’s time to make your rolls. This recipe will fill a standard cookie sheet or roasting pan, which both work well for these biscuits. Grease the cookie sheet or roasting pan lightly.
Begin making rolls by squeezing a piece of dough and pinching it off. Each roll should be about the size of the fist of the child I was when my mother first let me try making a biscuit. Now, my hands are turning into hers.

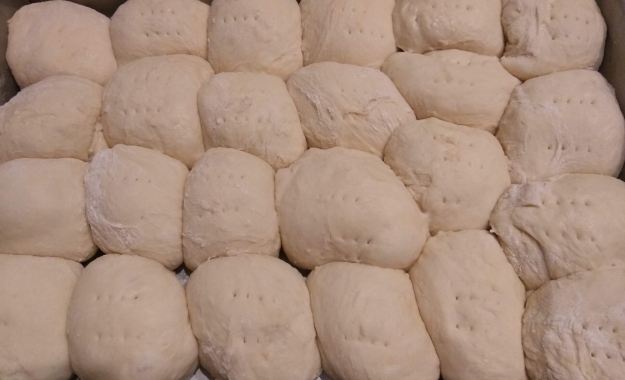
Fill the pan with rolls, cover with a clean cloth, and let rise for 20 minutes while your oven heats the kitchen. When they have risen, prick each roll very lightly with a fork.
Pop those rolls into the oven and bake at 350 degrees for 30 minutes. A couple minutes before you pull them out, open the oven and lightly rub a stick of butter over the top of the rolls. Finish baking, and remove from heat. For best results, transfer the rolls onto a cooling rack. Serve with love, while they are still warm.
This is my mother’s table, this the Madonna of my Grandmother. This is the recipe for my mother’s bread. This is the way that I tasted my mother’s love.

